
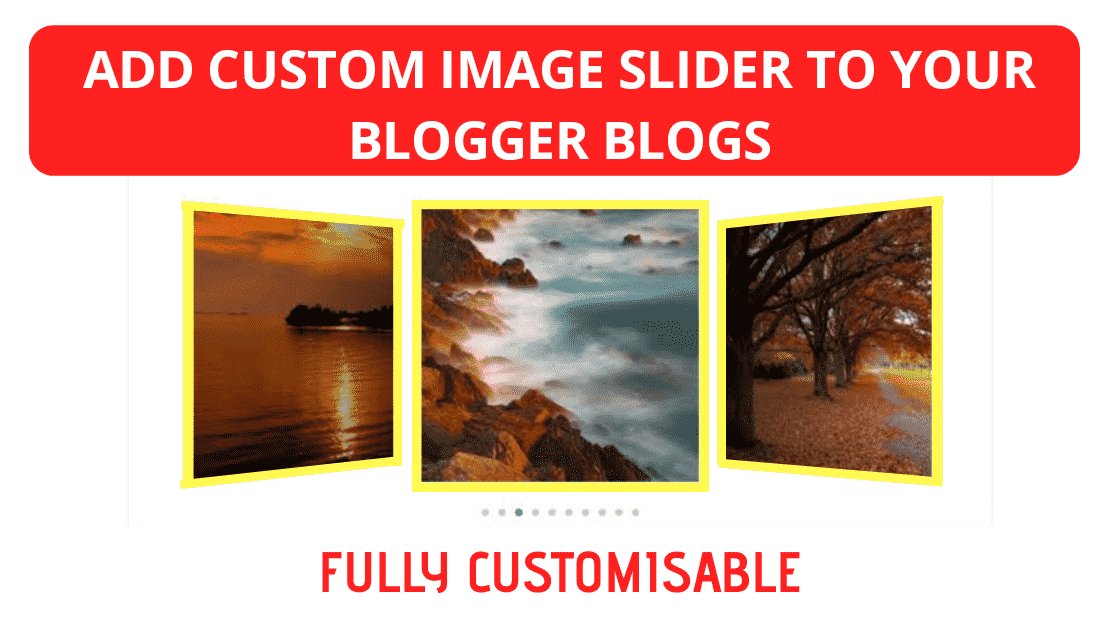
CREATE CUSTOM HTML & CSS IMAGE SLIDER OPTION ON BLOGGER
WHY AUTOMATIC IMAGE SLIDER
Hello blogger, Some Blogger themes are Provide their auto image Slider option to by default. This is a beautiful feature to any themes but when you using this type of themes, your blogs is beat of slow.
So we recommend, use lightweight themes and use Custom image Slider option and they are definitely beautiful to your blog and much better performance to your blog.
UPLOAD BEAUTIFUL IMAGE ON SLIDER
Friends, You have need to upload beautiful image for image slider. So friends, upload your business / Professional attractive image on google drive or You can upload image on blogger.
GOOGLE DRIVE
open google drive >> upload image >> Send >> Get Shareable link
GOOGLE BLOGGER
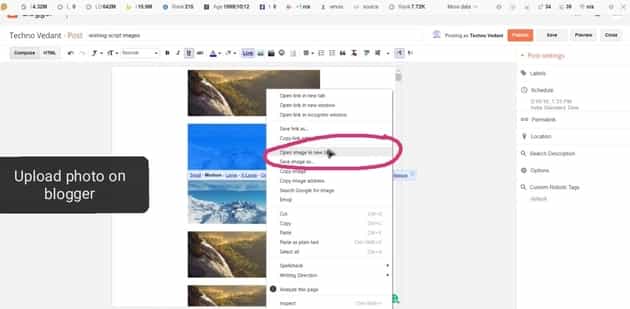
blogger >> create new post >> upload image >> Right click on the image and Get link >> Copy
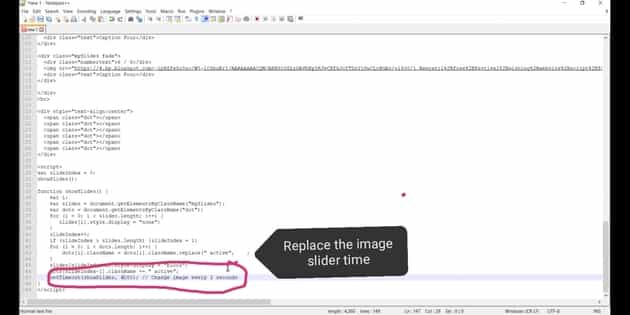
on highlighted area on ex. 1.url, 2.url etc. and replace your photos url,who are you upload on google drive/blogger.
You can edit on Image sliding time on mili-second and also you can add on many sliding image, use maximum 5 images (recommend).
SET-UP HTML IMAGE SLIDER
If you want to set image Slider on blogger Home page, Then
Open Blogger >> Themes >> Edit html >> Press on CTRL + F >> Enter on “<head>” >> Paste code on the below.
If you want to show on Particular page, Then
Open Blogger >> Create page >> Select on html option >> Paste the code, where you want to show slider images.